
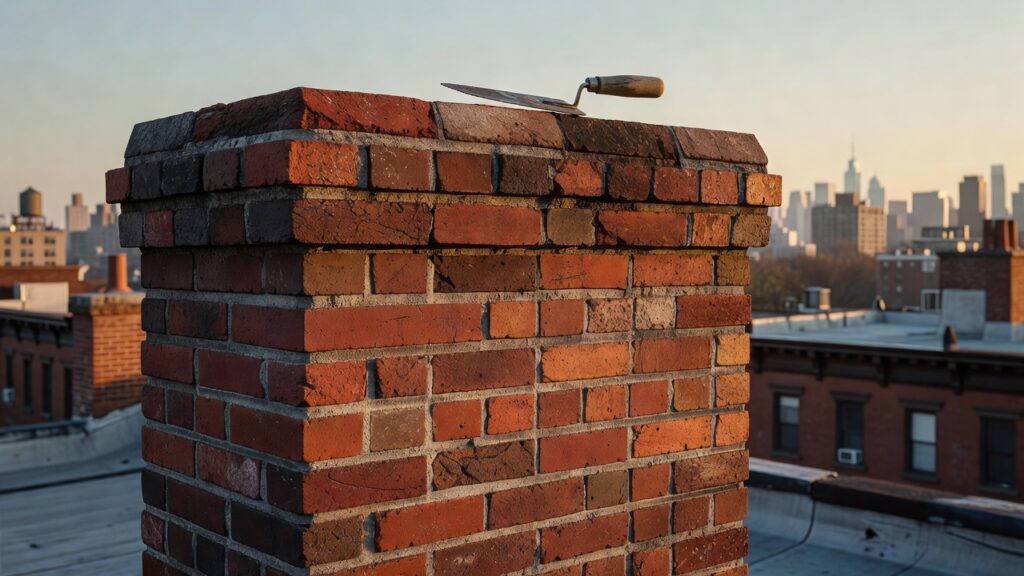
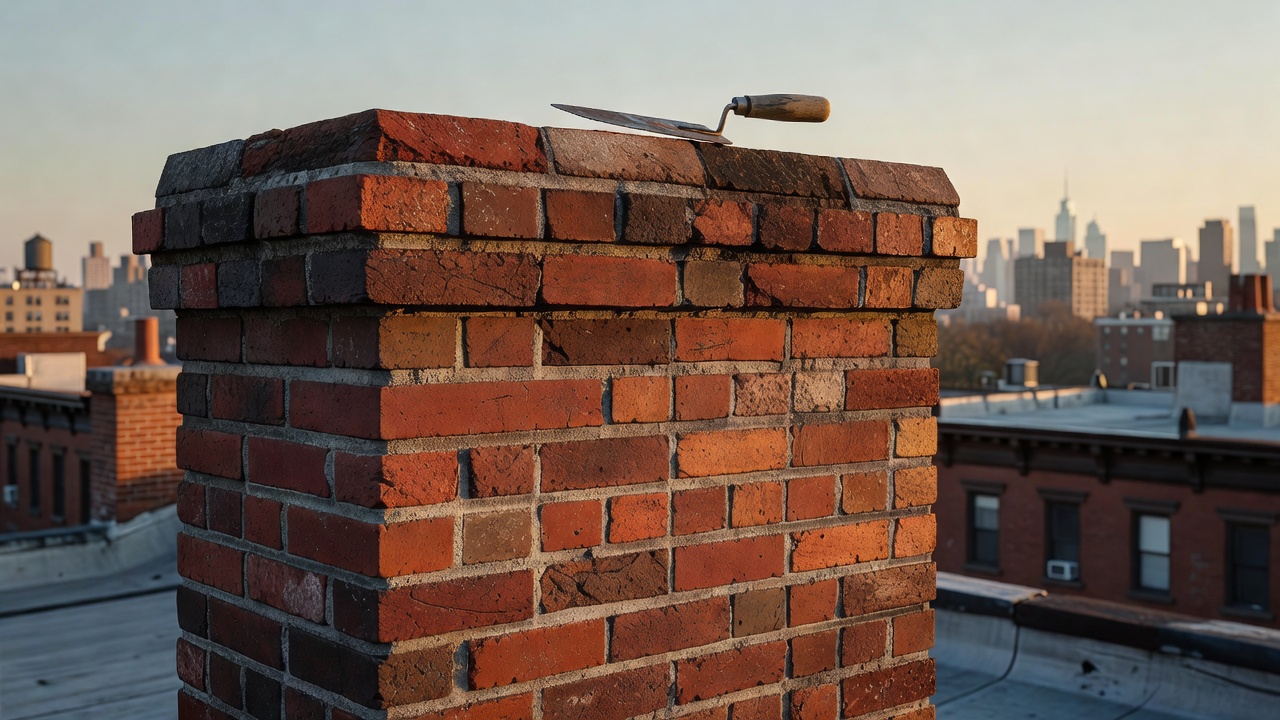
Reliable Masonry and Brick Repair Services: 2026 Guide for Greenwich Village Residents
Most brick problems in Greenwich Village don’t announce themselves. They develop quietly behind ivy, beneath window sills, or inside chimney chases that haven’t been opened in a decade. By the time a homeowner notices crumbling mortar or a spalling facade, the damage is usually further along than it looks. Our masonry-and-brick-repair-services team works across the Village regularly from the landmarked rowhouses on Commerce Street to the pre-war co-ops lining West 10th and the pattern we see is consistent: small, neglected problems become expensive structural ones. This post walks through the six most common issues we diagnose, how we actually identify each one, and what a proper fix involves.
A quick note before we dive in: we’re not going to tell you that every crack is catastrophic or that every job requires a full rebuild. That kind of alarm-first approach isn’t honest, and Greenwich Village residents have heard it before. What we will do is give you a straight read on what the diagnostic process actually looks like, what the repair involves, and roughly what to expect at each stage.
The Call That Started This: A Townhouse on Bank Street
Last spring, the owner of a four-story townhouse on Bank Street called us after her downstairs neighbor flagged water staining on an interior wall. She’d assumed it was a plumbing issue. A plumber found nothing. When our crew inspected the exterior and ran a camera up the chimney flue, we found the real source: the crown had cracked through, the flashing had pulled away from the brick at the roofline, and three courses of mortar on the north-facing chimney stack had washed out completely. The interior staining was secondary moisture had been tracking down the flue liner and wicking into the party wall for at least two seasons. Total repair scope: crown rebuild, full flashing replacement, and tuckpointing on two chimney faces. The job ran about $2,400 and took two days. Had she called six months earlier, it would have been closer to $900.
That’s the most important thing to understand about masonry work: the window between “manageable repair” and “major intervention” is shorter than people think, especially in buildings this old.
Masonry-and-Brick-Repair-Services: Six Problems We Diagnose and How We Fix Them
1. Mortar Joint Deterioration (Tuckpointing)
Symptoms: Mortar that’s recessed more than a quarter inch, crumbles when you press it, or has gone powdery and light-colored. Sometimes you’ll see efflorescence white mineral deposits along horizontal joints.
Cause: Mortar has a finite lifespan. In a Greenwich Village brownstone or brick townhouse built in the 1880s or 1900s, the original mortar was likely lime-based and softer than modern Portland cement mixes. That’s actually a feature, not a defect lime mortar allows the building to flex slightly with seasonal temperature swings. The problem comes when someone repoints with a hard Portland cement mix, which doesn’t flex, and the stress gets transferred directly into the brick face, causing spalling.
The fix: We grind out the failed mortar to a depth of about three-quarters of an inch using an angle grinder or oscillating tool — never a chisel alone, which can crack the brick. We match the replacement mortar composition to the existing wall: lime-based mixes for pre-1930 buildings, transitional mixes for mid-century construction. Color-matching matters too, especially in the Village where facade uniformity is part of the Landmarks Preservation Commission requirements.
Prevention: A tuckpointing inspection every 10 to 15 years catches joint erosion before water infiltration starts. If the building had prior repointing done with a mismatched mix, flag that for your technician — it changes both the approach and the mortar spec.
2. Spalling Brick Faces
Symptoms: Brick faces flaking, popping, or breaking away in sheets. Often worse on north-facing walls or at the chimney crown where freeze-thaw cycles hit hardest.
Cause: Water penetrates micro-cracks in the brick face, freezes, expands, and breaks the surface off. This accelerates significantly when incompatible (too-hard) mortar is trapping moisture inside the wall instead of letting it escape through the joints as intended.
The fix: Spalled bricks need to be cut out and replaced individually there’s no patching product that holds up long-term on a load-bearing exterior wall. We source replacement brick to match the existing coursing in size, texture, and color. In landmarked buildings, we sometimes need to source salvaged period brick from demolition yards. The new units are set in appropriate mortar, and joints are tooled to match the surrounding profile.
Prevention: Correct mortar selection on any prior repointing job. Sealing is sometimes recommended, but only with a breathable siloxane-based product film-forming sealants trap moisture and make spalling worse.
3. Chimney Crown Cracking
Symptoms: Visible cracks across the top of the chimney crown, water in the firebox after rain, efflorescence below the crown on the chimney stack.
Cause: Crowns made with plain mortar (not a purpose-mixed crown compound) shrink and crack within a few years. Thermal cycling does the rest. We see this constantly on chimneys in the West Village and Morningside Heights that had quick patch jobs done without proper crown material.
The fix: If the crown is cracked but structurally sound, we apply a flexible crown coat product that seals the cracks and sheds water. If the crown has crumbled or is structurally compromised, we demo it and pour a new crown with proper overhang and drip edge so water doesn’t run back down the stack face.
Prevention: A Level 1 chimney inspection annually catches crown deterioration before water penetration begins. According to the National Fire Protection Association (NFPA 211), chimneys should be inspected at least once per year and cleaned as necessary to reduce fire and carbon monoxide risks and crown integrity is part of that inspection scope.
4. Flashing Failure at the Roof Line
Symptoms: Water staining on interior ceilings near the chimney, rust streaks on the chimney exterior, visible gaps between the chimney and the roof surface.
Cause: In pre-war buildings throughout Chelsea and the West Village, we often find original lead flashing that’s lasted 80 years and then a later repair done with aluminum, which corrodes at the interface point with masonry. Tar-based counterflashing is another common culprit: it shrinks, pulls away, and creates a direct water entry point.
The fix: Proper flashing requires two components working together: step flashing woven into the roof courses and a counter-flashing set into a reglet cut into the chimney masonry. Both need to be present and correctly overlapped. We use stainless or copper for longevity, especially on buildings in the Village where roof access for future repairs is difficult.
Prevention: Inspect flashing whenever the roof is serviced. The two trades rarely coordinate, and flashing gets forgotten.
5. Efflorescence and Subsurface Salt Damage
Symptoms: White powdery deposits on the brick face, recurring even after cleaning. Sometimes a hard crystalline crust forms on the surface.
Cause: Water moving through the masonry dissolves naturally occurring salts in the brick and mortar. As the water evaporates at the surface, the salts crystallize and deposit. The staining itself is cosmetic, but the underlying moisture movement is the real problem and if the crystallization happens below the surface rather than on it, it can break the brick face from within (called subflorescence).
The fix: Dry-brush or rinse the deposits never apply acid on historic brick without testing first. Then find and close the moisture entry point: usually failed joints, crown, or flashing. The Chimney Safety Institute of America (CSIA) notes that water is the single most destructive element affecting masonry chimneys, and efflorescence is one of its earliest warning signs.
Prevention: Correct the source. Cleaning alone without addressing water infiltration means the deposits return within a season.
6. Structural Cracks in the Chimney Stack or Parapet
Symptoms: Diagonal or stair-step cracks running through multiple mortar joints, horizontal cracks along a single course, visible lean or bow in the chimney stack or parapet wall.
Cause: Settlement, lintel failure, or in some older Harlem and Inwood buildings, inadequate foundation support. Diagonal stair-step cracks typically indicate differential settlement — one section of the foundation moving at a different rate than another. Horizontal cracks near a lintel suggest the lintel is deflecting under load.
The fix: This is where diagnostic reasoning matters most. A crack that looks cosmetic can indicate active structural movement. We assess crack width, pattern, and whether the edges show displacement or just separation. Fresh cracks with sharp edges and no staining suggest recent movement. Stained, rounded crack edges suggest old, stable movement. If there’s any ambiguity, we recommend a structural engineer review before we proceed with masonry repair because filling a crack in an actively moving wall is a temporary fix at best and a liability at worst. The U.S. Fire Administration reports that heating fires account for approximately 15% of all residential structure fires, with chimney-related failures being a leading cause and a structurally compromised chimney stack is a significant contributing factor.
Prevention: Annual inspection from grade level and rooftop. Binocular inspection from the street catches visible lean and major cracking; a close-up inspection catches the early-stage joint failures that precede structural movement.
What Honest Expectations Look Like on a Greenwich Village Job
A standard tuckpointing job on a two-face chimney in the Village runs $600 to $1,200 in 2026, depending on height and access. Full crown replacement adds $400 to $800. Flashing replacement typically runs $500 to $1,000. Individual brick replacement depends on sourcing salvaged period brick costs more than standard replacement units, and landmarked buildings may require it. Factor in scaffold or lift rental if the stack is more than three stories above the roofline, which is common in the taller pre-war buildings around Gramercy Park and Murray Hill.
We pull permits when required by NYC Department of Buildings scope triggers. We document conditions before and after with photos, and we provide a written report for co-op boards that need it for their files. If the Landmarks Preservation Commission requires materials review, we handle that coordination. None of that is unusual on a Village job it’s just how the work gets done properly.
Frequently Asked Questions
How do I know if my chimney needs tuckpointing or a full rebuild?
The distinction comes down to how much of the brick unit itself is compromised versus just the mortar joints. If the brick faces are intact and the mortar is eroded or cracked, tuckpointing is the appropriate repair it restores the joint without touching the brick. If the bricks themselves are spalled, cracked through, or if there’s structural displacement in the stack, we’re looking at selective rebuilding or, in severe cases, a full teardown and reset. A proper inspection not a quote-first phone estimate is the only way to know for certain. We look at the pattern of damage, the mortar composition, and whether there’s evidence of active moisture movement before recommending a scope.
Does the NYC Landmarks Preservation Commission affect what masonry materials I can use?
Yes, and this matters significantly in Greenwich Village, which contains one of the largest historic districts in Manhattan. If your building is a designated landmark or sits within a historic district, any work that alters the exterior appearance — including repointing and brick replacement requires LPC approval before work begins. The LPC has specific requirements around mortar composition, joint profile, and replacement brick sourcing. We’re familiar with the process and can prepare the documentation needed. Skipping this step can result in stop-work orders and mandatory restoration at your expense, so it’s worth doing correctly upfront.
How long does masonry repair actually last if it’s done right?
Properly matched tuckpointing in a lime-mortar building should hold 20 to 30 years before needing attention again. Crown repairs using purpose-built elastomeric crown coat products typically carry a manufacturer warranty of 10 to 15 years. Brick replacements, when the source brick is compatible and the mortar mix is correct, should last the life of the building assuming no new water infiltration points develop. The variable that shortens every repair’s lifespan is unaddressed moisture: if the source of water entry isn’t closed, even excellent masonry work degrades faster than it should. That’s why we treat the diagnostic phase as seriously as the repair itself.
Ready to Get a Straight Answer About Your Masonry?
If you’re seeing cracked mortar, water staining, or anything on this list in your Greenwich Village brownstone, rowhouse, or co-op, the right move is a proper inspection before you start getting repair quotes. Our team works throughout the Village and across Manhattan from Inwood to Tribeca and we give you a written assessment of exactly what we find, what needs repair now, and what can wait. No pressure, no alarm-first sales approach. Call Chimney Manhattan or use our contact form to schedule, and we’ll get eyes on it before the problem gets ahead of you.
Related from Chimney Manhattan: Masonry And Brick Repair in Manhattan, NYC · Reliable Why Masonry and Brick Repair Services in Manhattan Are Not Op · Masonry And Brick Repair in Manhattan